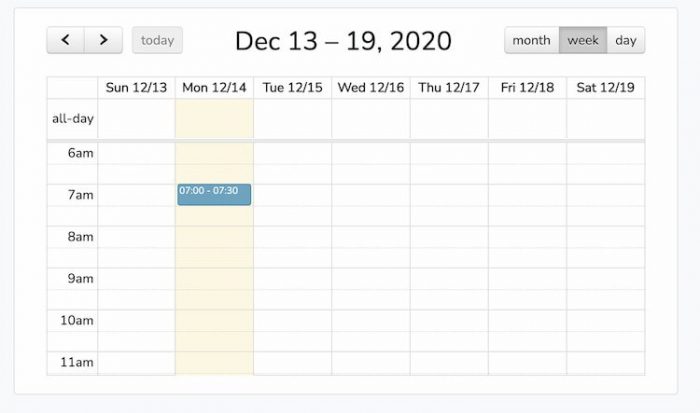
Throughout this Laravel Vue js calendar example tutorial, we will explain how to display dynamic events on the calendar with the help of the vue FullCalendar plugin within the laravel application.
The FullCalendar plugin is a JavaScript-based calendar plugin that is specially designed for Laravel Vue JS applications.
The full calendar is robust, relentless, developer-friendly equally important, an open-source plugin used to display events, dates, and calendar related tasks.
FullCalendar is notable for showing events; nonetheless, it isn’t a perfect solution for event content-management. Ahead dragging an event to a particular time/day can not change an event’s name or other associated data.
However, you can make this possible using FullCalendar’s API.
Let’s check out step by step on how to implement the full calendar in Laravel Vue Js.
Laravel 9 Vue JS FullCalendar Example
Here is the assortment of steps of this tutorial towards displaying events with full calendar package in Laravel and Vue JS project:
- Create Laravel project
- Make database connection
- Generate and configure model, also migration
- Vue Full calendar plugin configuration in laravel
- Create routes
- Generate and configure the controller
- Create and set up Vue component
- Connect laravel and Vue with blade view
- Start the laravel development server
Create Laravel Project
Generically, the first step begins with laravel project installation:
composer create-project laravel/laravel laravel--vue-calendar-example --prefer-distMake Database Connection
Open .env file, place your database details to make the connection between laravel and database:
DB_CONNECTION=mysql
DB_HOST=127.0.0.1
DB_PORT=3306
DB_DATABASE=db
DB_USERNAME=root
DB_PASSWORD=
If you are using MAMP local server in macOs; make sure to append UNIX_SOCKET and DB_SOCKET below database credentials in .env file.
UNIX_SOCKET=/Applications/MAMP/tmp/mysql/mysql.sock
DB_SOCKET=/Applications/MAMP/tmp/mysql/mysql.sock
Configure Model and Run Migration
In subsequent step, you have to create a model to set a table columns or properties in the database:
php artisan make:model EventList -mAppend code in app/Models/EventList.php:
namespace AppModels;
use IlluminateDatabaseEloquentFactoriesHasFactory;
use IlluminateDatabaseEloquentModel;
class EventList extends Model
{
    use HasFactory;
    protected $fillable = [
        'event_name',
        'event_start',
        'event_end'
    ];
}
Add values which are to be migrated in database within database/migrations/create_event_lists_table.php:
use IlluminateDatabaseMigrationsMigration;
use IlluminateDatabaseSchemaBlueprint;
use IlluminateSupportFacadesSchema;
class CreateEventListsTable extends Migration
{

    public function up()
    {
        Schema::create('event_lists', function (Blueprint $table) {
            $table->id();
            $table->string('event_name');
            $table->date('event_start');
            $table->date('event_end');
            $table->timestamps();
        });
    }

    public function down()
    {
        Schema::dropIfExists('event_lists');
    }
}
Migrate the table values:
php artisan migrateInstall Full Calendar and NPM Packages
Next, execute the given command to install laravel UI, It will conjugate a ready-made scaffold with all the necessary controller, routes, and views:
composer require laravel/uiUse command to install Vue components in laravel:
php artisan ui vueNext, up you have to install full calendar and dependent packages for it:
npm i vue-full-calendar
npm i babel-runtime

npm i babel-preset-stage-2

npm i moment
Run npm command to compile scaffolding:
npm installCreate Calendar Controller
Open terminal window, execute command to generate a new controller:
php artisan make:controller CalendarControllerAdd code in appHttpControllersCalendarController.php:
namespace AppHttpControllers;
use IlluminateHttpRequest;
use AppModelsEventList;
class CalendarController extends Controller
{

    public function index()
    {
        return view('welcome');
    }
    public function calendarEvents(Request $request)
    {
        $eventList = EventList::get(['event_name','event_start']);
        return response()->json(["My events" => $eventList]);
    }
}
Create Routes
In this step, you have to go to routes/web.php file, and add following code to create route:
use IlluminateSupportFacadesRoute;
use AppHttpControllersCalendarController;


Route::get('/', [CalendarController::class, 'index']);
Route::get('show-events', [CalendarController::class, 'calendarEvents']);
Setting up Vue Component
Move to resources/js/components/ directory, also create CalendarComponent.vue template file:
After that, update the resources/js/components/CalendarComponent.vue file with below code:
<template>
    <div class="container">
        <full-calendar
            :events="calendarEvents"
            :header="{
                    left: 'prev, next today',
                    center: 'title',
                    right: 'dayGridMonth, timeGridWeek, timeGridDay, listWeek',
                }"
        >
        </full-calendar>
    </div>
</template>
<script>
    export default {
        data() {
            return {
                calendarEvents: [{
                    events(start, end, timezone, callback) {
                        axios.get('http://localhost:8000/show-events').then(res => {
                            callback(res.data.eventList)
                        })
                    },
                    color: 'blue',
                    textColor: 'white',
                }]
            }
        }
    }
</script>
Next, import full calendar, also define the Vue component within resources/js/app.js file:
require('./bootstrap');
import 'fullcalendar/dist/fullcalendar.css';
import FullCalendar from 'vue-full-calendar';
window.Vue = require('vue');
Vue.use(FullCalendar);


Vue.component('calendar-component', require('./components/CalendarComponent.vue').default);

const app = new Vue({
    el: '#app',
});
Add the vue component directive within resources/views/welcome.blade.php file to show the full calendar in view:
@extends('layout.app')

@section('content')
<div class="container">
    <div class="row justify-content-center">

        <div class="col-md-8">
            <div class="card">
                <div class="card-body">
                  <calendar-component></calendar-component>
                </div>
            </div>
        </div>
    </div>
</div>
@endsection
Get inside the resources/views/ folder create a layout folder similarly create a app.blade.php file.
Afterwards, add the below code in resources/views/layout/app.blade.php:
<!doctype html>
<html>
<head>
    <meta charset="utf-8">
    <meta name="viewport" content="width=device-width, initial-scale=1">
    <meta name="csrf-token" content="{{ csrf_token() }}">

    <title>Laravel Vue JS Display Events with FullCalendar Example</title>

    <script src="{{ asset('js/app.js') }}" defer></script>
    <link href="{{ asset('css/app.css') }}" rel="stylesheet">

</head>
<body>
    <div id="app">

        <main class="py-4">
            @yield('content')
        </main>

    </div>
</body>
</html>
Ultimately its time to test out what we have built so far, so start the npm:
npm run watchIn another terminal use command to invoke the laravel server:
php artisan serveOn the following URL, check the result:
http://127.0.0.1:8000
We are done for now, hope this immaculate Laravel Vue JS full calendar tutorial with example will help you.